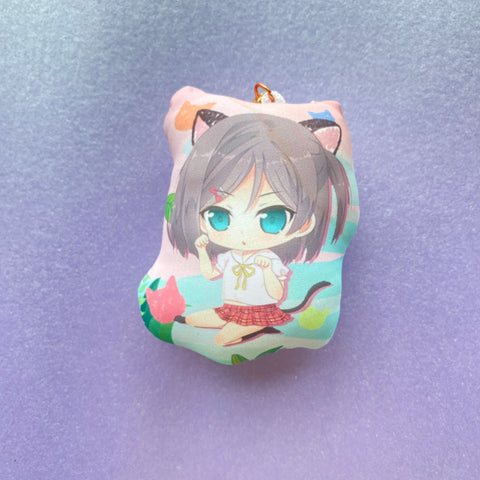
Tips for taking photos of your Goods
Hi Vograce’s friends welcome to the sharing tutorial channel. In last survey, many friends would like to know more tips about taking photos. So I have inquired our photographer and ask for advices for you. Hope you can have better photos for your cute goods!
1 Devices
2 Background
3 Best Time for Taking Photos
4 Items
5 Photograph from all angles
6 A secret weapon: Lightbox Lighting
7 Other tips
1 Devices
Should I buy expensive cameras for taking photos for my goods?
The answer is no, you can have good photos with your phone too.
But the camera can do a lot too for your photos of course.
For photos, you can adjust the light degree to make sure it is bright enough for your goods.
LED lights-about 160$ you can get a very good light, 2 lights will make your photos with no dark area.
2 Background
A very important point for good photos are the background, many famous photographer go all over the world to find the best background. But now we have some suggestions for you which is easy to find.
That is the green plants, the green grassland, the blue sky, the lake. You can have wonderful photos especially in nature scenery.

Plain background and ones with products in use will be perfect choices too.

3 Best Time for Taking Photos
If you want to take photos in nature, the natural lights will be best support! So there will be best time for your goods, that is when the sunlight is enough but not too strong.
Like 2-4 hours before and after noon. Sunny afternoon will be the golden time.
Catch it and try!

4 Items
You can add some beautiful and interesting items into the photos, like cute flowers and the plants, or users like bags / backpacks for keychains; stickers for bottles; boxes for washi tapes; desks for everything (smile).
While there will be certain items often used for usual topics:
Kawaii goods: pearls, flowers, leaves, plates, wood, shells, different textures of clothes( like the wool ), pens, the gift box, notebooks,coffee cups, lemons toys, cherries toys.
Cool goods: dark card paper for dark colors, marble-like texture paper, fake “ice” toys,

5 Photograph from all angles
Merchandise photography should be done from every angle possible. By moving around the item; you will find the best angles but other nesseceery angles had better be include like photos from the back and side .

6 A secret weapon: Lightbox Lighting
About $50 - $100 you can own a photography studio. You can set your lights, backgrounds, and more for a controlled environment. It will usually have built-in lights. It will allow you to take photos alone anytime.
7 Other tips
Show your design process.
If you have creative designs for yourself, why not show the process for one or two steps. You followers will be very interested how the design is made.
8 Check some important points for the photos
- Make sure the good is the first one you will see in the photo. Don’t forget the role of the photos.
- Make sure the photo is bright enough. Like on lit area.
- Make sure the photo is clean, neat.
9 Why not let your people to give your suggestions?
You can take some scenes and show them to your friends. Invite them to give some advice. Maybe you can gain a lot from their opinions.
If you have questions, welcome to consult us by email or social media:
Facebook:@VograceCreatives https://www.facebook.com/VograceCreatives/
Twitter:@VograceCharms https://twitter.com/VograceCharms
YouTube:@VograceCharms https://www.youtube.com/channel/UCMd2dQcKZHzYsIc8LhUf8jQ
Instagram:@vograce_new https://www.instagram.com/vograce_new/
Discord: @Vograce Chat https://discord.gg/ks6sb3KwvS
TikTok: https://www.tiktok.com/@vogracecharms
Hope you have more fun at Vograce!


