How to Make a Lanyard Keychain: Easy DIY Tutorial
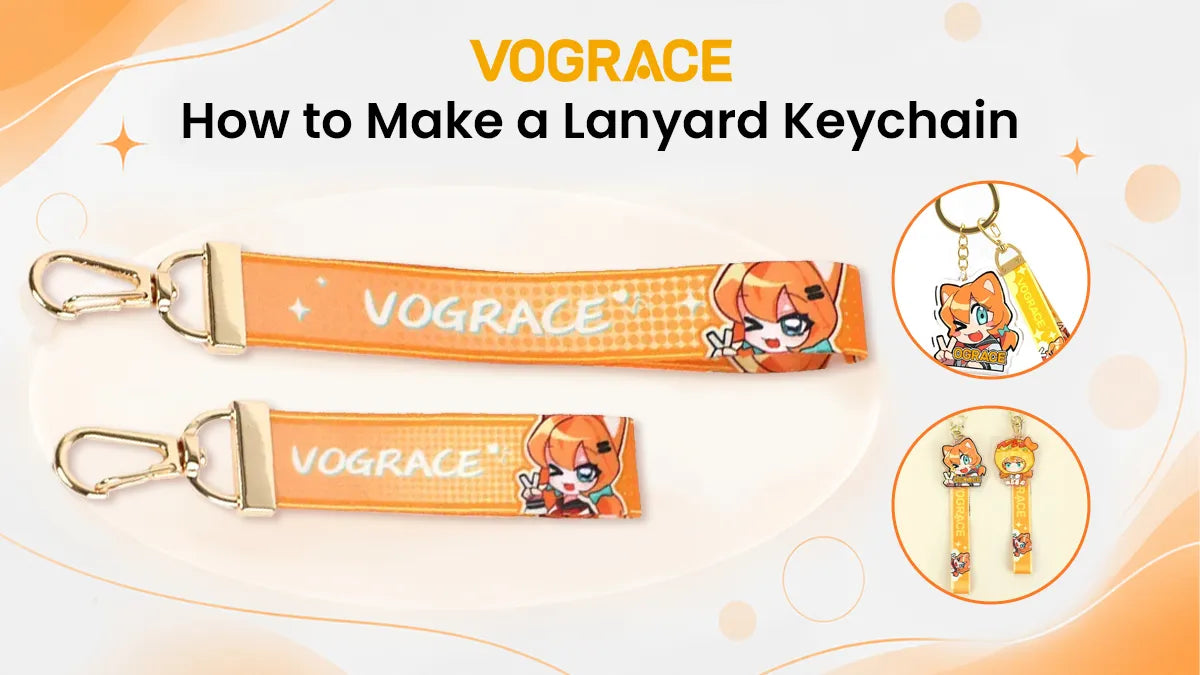
Lanyard keychains are among the easiest keychains to make, and this DIY tutorial walks you through the most beginner-friendly method. No sewing machine, no weaving patterns; all you need is a ribbon, a keyring, and some glue. In about ten minutes, you can fold, glue, and make a finished lanyard keychain.
Materials You'll Need
● Sturdy ribbon
● Keyring or D-ring
● Scissors
● Ruler or a measuring tape
● Fabric glue suitable for the ribbon
● Lighter (optional, to seal ribbon edges)
● Charms or other decorations (optional)
Making a lanyard keychain with a ribbon is a great choice for beginners. It lies flat, it is easy to cut, and it does not unravel like a cord. That means no weaving, no sewing, and no extra tools.
How to Make a DIY Lanyard Keychain in 5 Easy Steps
Before you gather all your materials and sit down to make the keychain, it's important you choose the right ribbon for this DIY project.
Step 1: Choose the Ribbon and Size
Look for a ribbon that feels sturdy and not thin or flimsy like a gift-wrap ribbon. Polyester or nylon ribbons work well because they hold their shape and are easy to glue.
For most lanyard keychains, a final length of four to six inches is plenty, so choose the size based on that.
Also think about how you will use the keychain, whether it's for holding a full set of keys or simply as a zipper pull or a bag charm.
Whatever length you pick, cut a little extra.
Step 2: Cut and Prepare the Ribbon
Measure your ribbon and mark where to cut. Then cut straight across with sharp scissors so the edge stays even.
Check whether the piece is long enough to wrap around the ring and still leave room for a loop.
Synthetic ribbons tend to fray after cutting. You can hold a lighter flame near the cut edge for just a second and run it around the frays. If your ribbon is not synthetic, skip the lighter step.
Step 3: Attach the Ribbon to the Keyring
Push one end of the ribbon through the keyring and pull it through until about an inch hangs past the ring.
Fold that inch back against the main ribbon so the two layers overlap.
Add a thin line of glue between the layers, near the edge rather than right at the top.
Next, press the layers together with your fingers and hold for a minute or two, or until the glue starts to grip.
Do not rush this step. A weak bond here can make the whole keychain fall apart.
You can use a plain split ring, a D-ring, or a swivel clasp; the steps remain the same. If you're confused, simply go with a D-ring; it works well for our DIY project.
Step 4: Form the Loop
Bring the free end of the ribbon to meet the section you just glued near the ring. Then lay the ribbon flat and check that it has no twists.
Overlap the free end with the ribbon by about an inch, then add glue to overlap, just like how you did in the previous step.
Press the layers together and hold for a minute. Let the glue cure fully before you handle it again.
Keep this overlap generous rather than tiny, since it is what holds the entire loop together. Do not add keys or anything else until the glue is fully cured.
Step 5: Finish the Keychain
Next, trim off any extra ribbon so the ends look neat. Run a lighter to get rid of frays only if you're using a synthetic ribbon.
Double check both glued spots to make sure they're solid, with no gaps or loose corners.
Lay the keychain flat and check the ribbon sits evenly without any twists.
Finally, give the loop a gentle tug to test it. If everything feels secure, your DIY lanyard keychain is ready to attach to your keys, bag, or anything else.
Tips to Customize Your Lanyard Keychain
Here are a few things you can try to customize your lanyard keychain.
1. The easiest way to customize a lanyard keychain is by trying a different ribbon. The ribbon is the main material for this project, so try a different color or pattern if you want quick customization.
2. You can also layer two ribbons of contrasting shades for a two-tone effect. The process is similar; just glue both the ribbons together first, let the glue dry, and then attach the layered ribbon to the keyring.
3. If you already know how and where you plan to use the keychain, try to match it to your backpack, purse, or outfit. This is a great way to personalize your keychain and make it one of a kind.
4. Another easy way to personalize is to add small charms or other decorative items for extra character.
5. If you're making this keychain as a gift, then using a themed ribbon for a favorite fandom, sports team, or holiday is a great way to customize it.
6. You can also try different keychain hardware to see what looks best. A D-ring or swivel clasp might add a better look than using a plain split ring.
Once you've completed this project, you can try making other lanyard keychains using different materials and techniques, such as paracord, braided cords, or different types of ribbon.
Get Custom Lanyard Keychains from Vograce

If you do not have the time for DIY and if gluing ribbons by hand is not your idea of fun, Vograce offers a quicker way to get personalized keychains.
You can get a custom lanyard keychain that pairs a printed lanyard with an acrylic charm, and your own artwork shows up on both pieces.
You can pick the length, choose single or double-sided printing, and select from several charm styles.
You can also choose from various clasps and get a keychain that is completely personalized for you.
It is a great option for personal use, fan merch, or gifts when you want a polished, ready-made look without waiting on glue to dry.