How to Make Acrylic Pins: A DIY Guide for Beginners
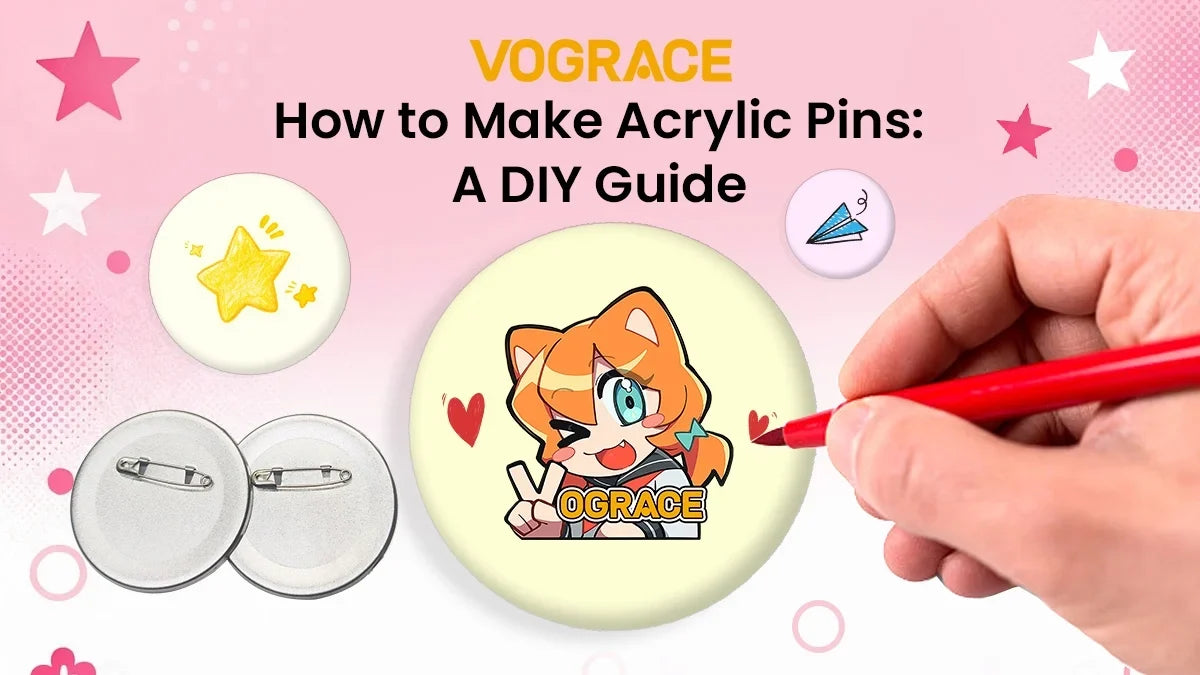
Acrylic pins have become a favorite among many artists, hobbyists and small shop owners who want to turn their art into something wearable. The clear layer gives your design a glossy, almost floating look that regular printed pins cannot match.
Acrylic pins are sturdy too, which makes them a good fit for backpacks, lanyards and jacket collars that are used in daily wear.
This guide walks you through a simple, beginner-friendly method using acrylic pin blanks. No special tools or acrylic-cutting machines required. Just a printer, some paper and a bit of patience.
Materials Required for DIY Acrylic Pins
These are all the materials you need to make acrylic pins at home. This project is both simple and extremely cost-effective, making it a perfect DIY project for beginners or someone who wants to give DIY a first try.
● Clear acrylic pin blanks
● Printer
● Printable paper
● Scissors or craft knife
● Ruler
How to Make Acrylic Pins at Home (Step-by-Step Method)

Like mentioned, this method uses clear acrylic pin blanks, which is the most beginner-friendly way to make acrylic pins.
You could also cut your own shapes out of acrylic sheets, but that method needs special acrylic-cutting tools, and cutting acrylic sheets by hand requires a lot of experience.
With pin blanks, you can skip that problem entirely. They come pre-cut and pre-assembled, so all you need to do is design, print and put everything together.
Step 1: Measure the Blank
Start by measuring your blank with a ruler. Note down its exact dimensions and its shape, whether that's a circle, a square or something else. Since blanks come in a handful of standard sizes, it helps to measure them beforehand rather than after you start designing.
This measurement decides how big and what shape your artwork needs to be.
If you're not sure which size will work best for your design, check our pin size guide for common pin dimensions and tips on choosing the right size.

Step 2: Create and Print Your Design
Now design your artwork. Use whichever software you're comfortable with; if you're completely new to this, simply use Canva. Match the background shape to your blank. If your blank is circular, your design should have a circular background too, or else it won't sit right once it's inside the pin.
When you print, use glossy or photo paper if you can, since it holds colors better than plain printer paper and it also gives that brighter look through the clear acrylic.
Step 3: Cut Out the Design
Using a pair of scissors or a craft knife, carefully cut the printed design to match the blank's size and shape.
This step requires patience; cut just inside your outline rather than right on top of it so no white paper edge peeks out once it's assembled. A clean, precise cut makes all the difference in how the final pin looks.

Step 4: Open the Blank
Gently separate the clear acrylic front piece from the back piece. Most blanks pull apart easily with a bit of steady pressure at the edge.
Step 5: Place the Artwork Inside
Place your cut-down design inside the back piece. Take your time centering it, and check it from all angles before proceeding.
Step 6: Snap the Pieces Together
Place your front piece on top and firmly press them together until you feel or hear them click into place. This seals your artwork inside and holds everything secure.
That is it. Your DIY acrylic pin is now ready to wear. Thanks to acrylic pin blanks that come with a pin attached to the back, you do not need any extra hardware or materials like glue to install a pin.

Limitations of Making Acrylic Pins at Home
This method is simple and cheap, which makes it great for beginners. It's also forgiving if you make a mistake, since a blank costs little and you can just try again. But it does come with a few trade-offs worth knowing before you get started.
Limited shapes. You're stuck with whatever shape the blank comes in. A circular blank means your artwork needs a circular background, even if your design would look better in a different shape.
Limited sizes. You can only pick from the sizes the blank is available in. Custom sizing isn't an option here.
Limited pin-back options. The blank comes with a standard generic-looking pin backing already attached. You can't swap it out for different hardware.
Less polished result. Let's be honest, a paper insert behind clear acrylic looks decent, but it won't have the same seamless finish as artwork printed directly onto acrylic, since you can sometimes see a faint edge around the paper if the cut isn't perfect.
Not ideal for multiple pins. Each pin needs its own print, cut and assembly. If you're making more than a handful, this adds up fast and eats into a lot of your time. Consistency across all the pins isn't guaranteed either.
Of course, there are other methods for making acrylic pins at home, like using shrink plastic, which might require a suitable printer and a cutting machine for better results. Or using acrylic sheets that require tools for cutting, or maybe resin casting that needs great DIY experience and tons of safety measures. But if you just want a pin or two for yourself, this DIY approach works well and costs almost nothing to try.
However, there's an even simpler, cheaper and better way to get more polished, professional results; here's how.
Make Custom Acrylic Pins With Vograce

Making custom acrylic pins with Vograce is extremely easy. Instead of printing and cutting the artwork yourself, you can upload your design and have it turned into a finished acrylic pin.
You can also choose from several styles, including clear, colored, frosted, glitter, holographic and epoxy acrylic pins. We also offer custom shapes, sizes, finishes and accessories to match your artwork.
There's no minimum order quantity, so you can start with a single pin. Pricing drops as your quantity goes up, making Vograce practical for both single pins and larger batches. With no cutting or paper inserts involved, you get a cleaner, more polished result than with a DIY blank.