How to Make a Temporary Tattoo at Home: 3 Easy Methods
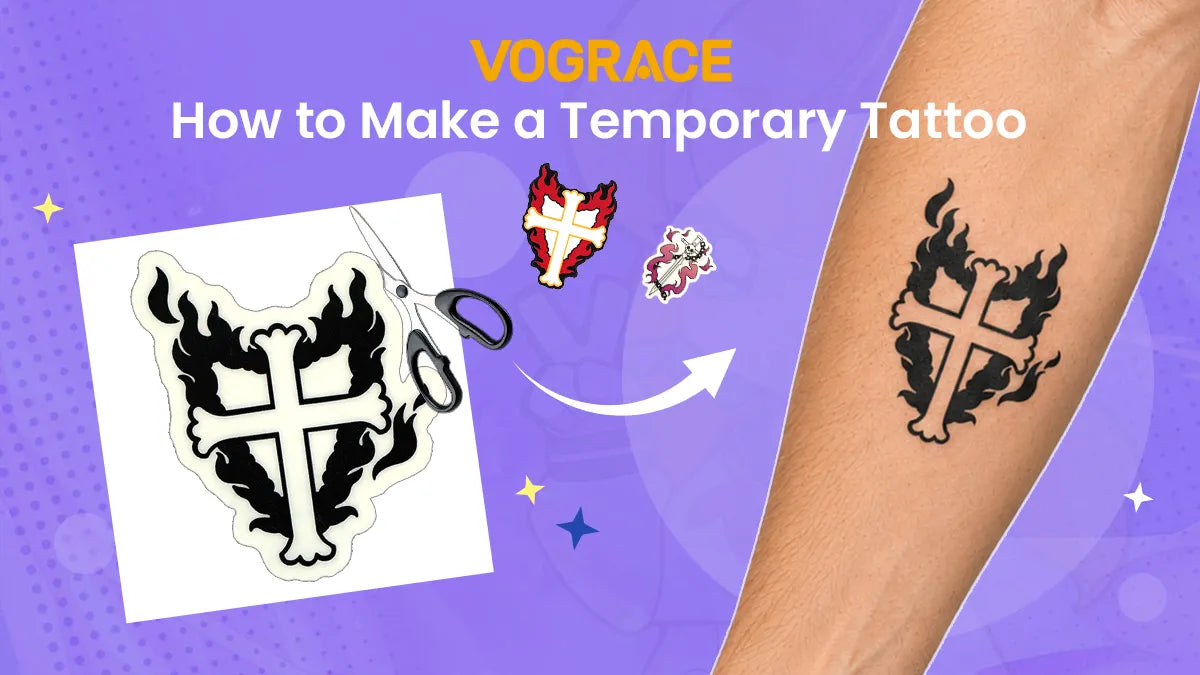
You can make a temporary tattoo at home by using tattoo paper, drawing with skin-safe eyeliner or tracing one onto skin with tracing paper. All three methods are easy and take under an hour.
Learning how to make temporary tattoos is easier than most people think. You just need basic supplies and a little patience. No art skills are required either.
Here are three methods picked especially for beginners. One needs a printer, one only a makeup bag, and one starts with a pencil.
In this guide, you'll find safety tips, step-by-step instructions, and ways to make your tattoos last long. You may own most of the supplies already, and each method costs very little.
What to Know Before You Start
A little prep before any DIY project goes a long way. So cover these basics first.
Choose a Simple Design
Bold shapes are the best. Thick lines survive printing and daily wear, whereas tiny details blur or vanish.
A few designs that are good first picks:
● A star, heart, or flower (bold)
● A short word in block letters
● A simple flower outline
● A small moon
Safety and Preparation Tips
Only use skin-safe products. That means cosmetic eyeliner or markers labeled safe for skin. Regular markers are not made for skin, so keep that in mind.
Do a patch test first. Dab a tiny dot of any product on your inner arm. Wait 24 hours if required. Skip the product if you see redness or itching.
Picking the right spot is important. Choose a flat area with little friction. The inner forearm and upper arm work well. Avoid joints, hands, and places that rub designs away fast.
Set up your workspace. Clear a table and lay down a towel. Good light is important to make cutting and placing designs easier, so pick the right workspace. Keep a damp cloth and cotton swabs within reach.
Finally, prep your skin. Wash the spot with mild soap and dry it well. Oils and lotions stop tattoos from sticking.
Which Method Is Right for You?
Here's a quick reference table to help you choose the right method.
|
Method |
Material Required |
Difficulty |
Best For |
|
Tattoo paper |
Inkjet printer, tattoo paper |
Easy |
Detailed designs |
|
Eyeliner |
Eyeliner or skin-safe marker |
Easiest |
Quick, simple looks |
|
Tracing paper |
Pencil, tracing paper, rubbing alchohol |
Easy |
Clean outlines, no printer |
The eyeliner method wins on speed, and the tattoo paper wins for the best results. Tracing wins when you have no printer. Still not sure where to start? Go with the eyeliner method. It's the easiest and costs almost nothing.
Method 1: Print a Tattoo With Tattoo Paper
This method gives the most polished result because tattoo paper holds fine detail and looks close to a store-bought tattoo. Most sheets suit inkjet printers, so check your pack before you buy.
Materials You'll Need: Printable tattoo paper, inkjet printer, scissors, damp cloth, rubbing alcohol, and a cotton pad.
You can find tattoo paper at craft stores and online. Pick a paper that matches your printer type.
Note: Rubbing alcohol can sting and dry skin. Avoid it on cuts or broken skin.
How To:
1. Pick or create your design on a phone or computer
2. Flip the design so it looks backward, because the transfer flips it back on your skin
3. Print on the side your paper mentions and let the ink dry fully
4. Add the clear film if your tattoo paper includes one
5. Cut around the design and leave a thin border
6. Wipe your skin with rubbing alcohol and let it dry
7. Peel off the backing, then press the tattoo face down
8. Hold a damp cloth on the paper for about 30 seconds
9. Peel the paper away slowly
Flipping is important because tattoo paper carries the print on the face that ends up against your skin. The transfer reverses the image, and a backward print reads correctly once it lands.
Quick Tips:
● Print a test on plain paper to check the size
● Fit several designs on one sheet for efficiency, and leave gaps so cutting becomes easy
● Press the cloth down and do not rub
● Let the tattoo completely dry before you touch it
Common Mistakes to Avoid:
● Loading the wrong paper for your printer type
● Forgetting to flip text
● Touching the printed side with wet fingers
● Moving the tattoo while it sets
Always test the design on plain paper first. Tattoo paper costs more than regular paper, and this test saves your sheets.
Method 2: Draw a Tattoo With Eyeliner or a Skin-Safe Marker
This is the fastest way to get a temporary tattoo at home. You need no printer and no special paper. Mistakes are allowed too. Simply wipe off the ink while it's fresh and try again.
Materials You'll Need: Pencil eyeliner, liquid or gel eyeliner or skin-safe marker, cotton swabs, translucent setting powder, paper, and scissors.
Waterproof gel eyeliner usually lasts longer than regular liquid liner. Moreover, body markers give bolder, flatter color. Test both on your arm to see which one you like.
How To:
1. Start by sketching the outline lightly with pencil eyeliner
2. Trace over it with liquid eyeliner, gel eyeliner, or marker
3. Fix errors with a damp cotton swab
4. Let the lines dry for a minute
5. Dust a thin layer of powder on top to set
For filled shapes, use small but even strokes.
Next comes adding color. Colored eyeliner pencils add a pop. Stick to two or three colors at most as a beginner. Outline first, then fill, so lines stay crisp.
If sketching isn't your cup of tea, you can try a stencil. Cut your shape out of paper, hold it flat on your skin, and then fill the opening with eyeliner.
The eyeliner method is the fastest and easiest, but the results also fade fast, often within a day. Use it for parties, photos, and practice.
Method 3: Trace a Design Onto Skin With Tracing Paper
The tracing paper method gives you a clean outline to ink over. It needs no printer, and it works well for designs that are hard to draw freehand.
Materials You'll Need: Tracing paper or thin plain paper, soft pencil, rubbing alcohol, cotton pad, damp cloth, and eyeliner or skin-safe marker (to draw over the outline or fill the design).
How To:
1. Trace your design onto the paper. Press hard to get thick, dark lines
2. Flip the paper over and trace the lines again on the back to make a backward copy
3. Rub alcohol on your skin and keep the spot slightly damp
4. Lay the paper down with the pencil side against your skin
5. Press a damp cloth on top for just a few seconds
6. Peel the paper away
This method gives you a minimalist tattoo with just the outlines. You can then use eyeliner or a skin-safe marker to draw over the outline and make your tattoo last longer, or fill it in to make a detailed tattoo. Finally, dust the finished design with a little powder to set it.
How to Make Your Temporary Tattoos Last Longer
To make your temporary tattoos last longer, no matter which method you go for, start with clean, dry skin. Skip oil or lotion near the tattoo, avoid touching wet ink, and finally dust a little powder to set it.
These tattoos only stay for hours to a day, and factors like sweat, oil, and friction shorten wear with all the methods.
How to Remove These Temporary Tattoos
Removing these temporary tattoos is extremely easy. Oil breaks down most ink and makeup, so follow these steps for all three methods:
1. Rub baby oil or cooking oil over the tattoo
2. Wait for a couple of minutes
3. Wipe with a soft cloth
4. Wash with mild soap
5. Rinse the area with water afterwards
Skip harsh scrubs. You do not need them to remove these temporary tattoos. If the tattoo is still visible, repeat the cleaning steps once again. Stubborn eyeliners and markers may need a second round of cleaning.
When DIY Is Not Enough to Make Temporary Tattoos

Both DIY projects and temporary tattoos are fun, and we encourage everyone to give them a try. But DIY has its limits, especially when you have to make multiple matching tattoos, which can take hours altogether.
Vograce makes it simple with custom temporary tattoo stickers. You can get temporary tattoo stickers made from your design in various sizes or order an entire sticker sheet. You can also use our online editor to preview the results before placing the order.
The stickers will arrive die-cut with clean edges, and professional printing gives sharper color than a homemade tattoo.
So, skip the cutting, the test prints, and the guesswork. Simply upload your design, select the size and quantity and place the order. You'll receive awesome temporary tattoo stickers made from your design.
These stickers are certified and quality assured, and they are also non-toxic and non-harmful to the skin. You can wear them without any worries and also gift them to your friends.