How to Make a Plushie: A Fun DIY Guide for Beginners
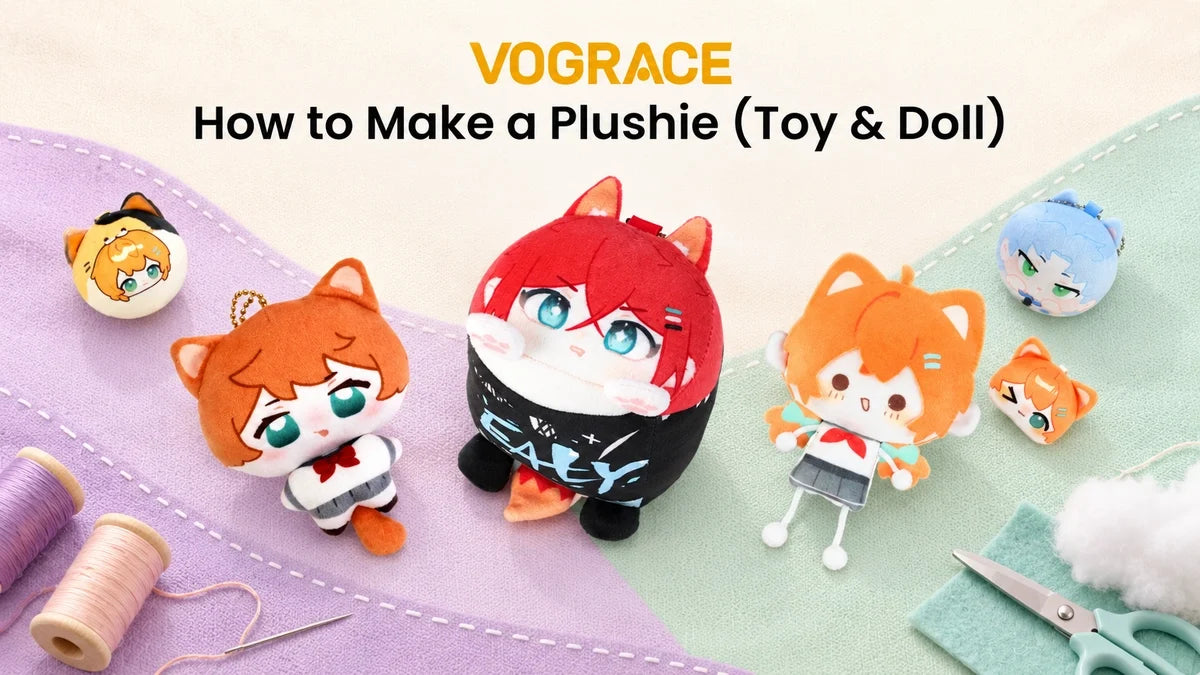
To make a DIY plushie, draw a simple shape, cut two matching pieces of soft fabric, sew them together, stuff them with fiberfill, and close the gap. That's the short version.
You do not need fancy tools or years of practice to make plushies at home. Just a needle, some thread, and one day will do.
This guide walks you through the whole process in simple steps, so even complete beginners can follow along.
Pick a Simple Shape and Size
Whenever you're trying a new DIY project, the key is to start with a round, easy shape. A bear, a bunny, a cat, or a simple blob all work well.
Skip details like tails, wings, and long legs for now. Each of these extra parts adds seams, and seams are where most beginners get stuck.
Choosing the Plushie Size
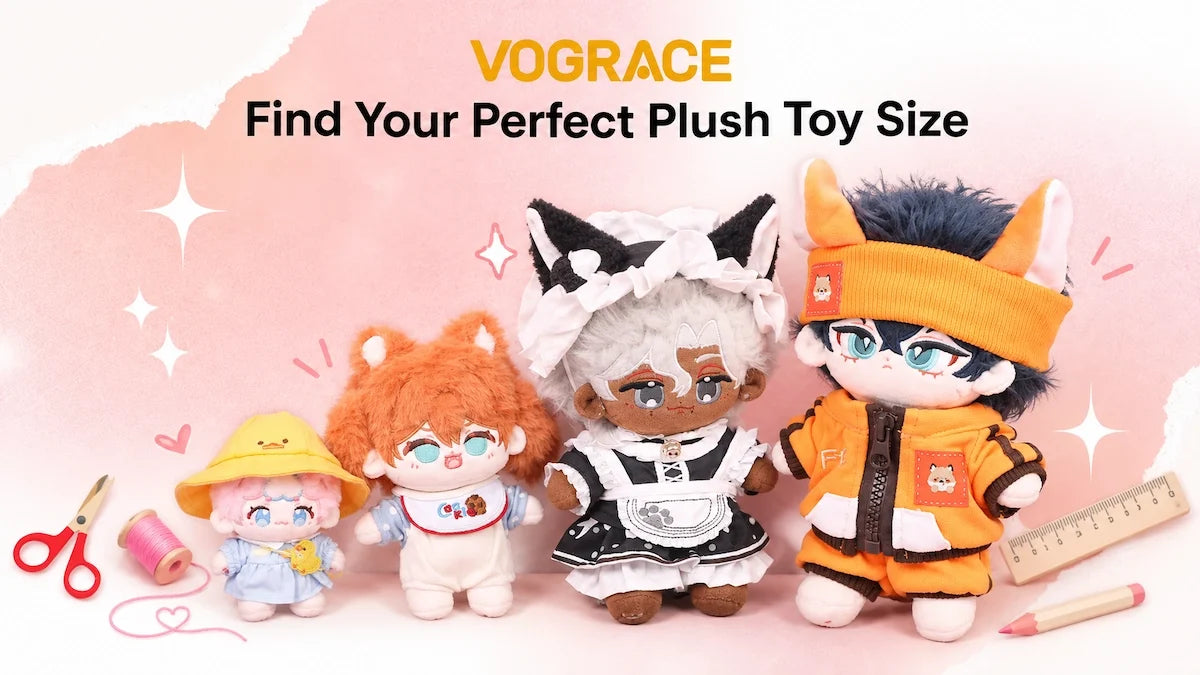
Size changes how hard the project feels. Here's a quick plushie size guide to choose from.
● Mini (3 to 5 inches): Perfect for charms, but the tight curves can be tricky.
● Small (6 to 9 inches): The perfect size for first-timers.
● Medium (10 to 14 inches): Good for gifts, but it needs more fabric and stuffing.
● Large (15 inches and up): For bedside and room decor.
There are no universal guidelines for plushie size, so treat these measurements only as a general guide or rough estimate. For more information on sizes, you can read our detailed article, Plush Size Guide: From Mini to Jumbo, Size Chart & Tips.
For complete beginners to DIY, a 7-inch plushie is a great place to start. It is big enough to sew with ease. It is also small enough to finish in one sitting.
Gather Your Materials and Tools
You can find everything at a craft store. Some items may already be sitting in your sewing kit.
Pick Your Fabric
● Fleece: Soft and barely stretchy. Fleece does not fray and is often the best pick for beginners.
● Felt: Stiff, cheap, and easy to cut. It works well for small shapes and is beginner-friendly.
You should avoid silky or other stretchy cloth for now, because it slips as you sew.
Coming to measurements, a fat quarter is plenty for a small plushie. It's a small pre-cut piece of fabric. For a medium plushie, buy half a yard.
Always buy a little more than you think you need. It gives you room for errors.
Gather Your Supplies
● Polyester fiber fill for stuffing
● Thread that matches your fabric
● A hand needle and sharp scissors
● Pins or small clips
● Paper, a pencil, and a fabric marker
● Embroidery floss or safety eyes
● A chopstick or something similar for stuffing into tight spots
Step 1: Draw and Cut Your Pattern
A pattern is simply a paper shape. You can draw one in less than ten minutes.
Draw the Shape
Draw a straight line down the middle of a sheet of paper. Sketch half of your plushie on the left side of the line. Keep the curves gentle and skip tiny details.
Now copy that half onto the right side as a mirror image, and both sides will match. This trick saves you from an uneven plushie.
Add Room for Seams
Now draw a second line about a quarter inch outside your shape. This gap is the seam allowance. It gives your stitches room to sit.
Cut along the outer line, and your paper pattern is done.
Mark Your Guides
Make a small mark at the top of the pattern and another at the bottom. These help you line up the fabric later on.
Then pick a flat, straight edge about 2 to 3 inches long. This is your stuffing gap. Do not pick a curve for this.
Test It First
If possible, cut a rough test from an old T-shirt. This helps you find all the problems beforehand. A bad test costs nothing, but ruined fleece does.
Cut the Fabric
Next, fold your fabric in half with the pretty sides touching. Pin the pattern on top, then cut through both layers.
You'll now have two matching pieces. Pull the fabric gently first. It will stretch more in one direction. Cut both pieces so the stretch runs the same way. This keeps your plushie even.
Step 2: Sew the Pieces Together
Keep the pretty sides touching. The seams stay on the inside for now.
Pin Before You Stitch
Pin the middle of each curve first. Then pin toward the ends. This stops bunching.
Match your top and bottom marks before you pin anything else.
Stitch the Seam
1. Start at one end of the stuffing gap.
2. Sew with small, even stitches.
3. Use a backstitch for strength.
4. Go all the way around the shape.
5. Stop at the other end of the gap.
6. Knot your thread and leave the gap open.
For a backstitch, push the needle up. Go back one stitch length and push it down. Come up one length ahead and repeat. The stitches overlap and hold well.
If you have a sewing machine, use a short, straight stitch. Sew a few stitches backward at the start and end.
Trim the Seams
Snip small cuts into the seam allowance along every curve. Stop just short of your stitches. This lets the curves lie smooth.
Turn It Right-Side Out
Reach through the gap and pull the fabric through. Use a chopstick if you need to push out the corners. Be gentle, or you may poke a hole.
Check the edge. It should look smooth and even. If it looks bumpy, trim the edge a little more.
Step 3: Add the Face Before You Stuff
Now, it's time to add the face. This should be done while the plushie is still flat and easy to hold.
Place the Eyes
Lay the plushie flat. Set the eyes about one third of the way down from the top of the face. Keep them about a thumb apart.
Eyes set low and wide look cute. Mark the spots with pins, then take a step back and look. Move the pins until the face feels right.
Choose Your Eye Style
For this, you have two options.
● Safety eyes: Push the post through the fabric. Press the washer on from inside the gap.
● Embroidered eyes: Stitch small filled circles with black floss.
If you're making this for kids, pick embroidery. It has no parts that can come loose.
Step 4: Stuff and Close Your Plushie
Pull your fiberfill into small, fluffy bits. Big handfuls cause lumps.
Fill the ends first, like ears and arms. Then fill the middle. Use a chopstick to reach tight spots.
Add a little at a time, and squeeze after each handful.
Your plushie should feel soft but spring back when you squeeze it. Too little stuffing leaves it floppy, and too much stuffing feels hard and stretches the seams.
Close the Gap With a Ladder Stitch
1. Fold the edges of the gap inward so they line up with the seam.
2. Knot your thread and bring the needle out through the fold.
3. Take a small stitch straight across in the other fold.
4. Cross back and take a small stitch in the first fold.
5. Repeat. The stitches should look like ladder steps.
6. Pull the thread snug every few stitches, and the seam disappears.
7. Knot the thread, then hide the knot inside the plushie.
Tug gently on every seam and feature, and your homemade plushie is now ready!
Common Beginner Mistakes and How to Fix Them
It's natural to run into these mistakes, and here are quick fixes.
Lumpy stuffing: Cut a few stitches, pull out the lumps, and refill in smaller bits.
Puckered (bunched) seams: You needed more snips on the curves, so pin closer next time.
Crooked face: Move the eyes before you stuff. This is easy to fix early.
Visible seam: Redo the ladder stitch with smaller stitches this time.
Stretched fabric: Try fleece, or use clips instead of pins.
Most flaws are common in DIY projects, and most people love them too. To clean your plushie, wipe dirt away with a damp cloth. Spot cleaning keeps the shape better than a hard wash.
Once you're confident with your plushie-making skills, you can try making a plush keychain too. Here's our beginner-friendly guide you can follow: How to Make Plush Keychains: A Complete DIY Guide.
When You Want a Plushie Made for You

Making plushies at home is fun, but copying a detailed character is hard. Moreover, making multiple plushies by hand is harder.
This is when a custom plush manufacturer like Vograce helps. We can turn a drawing, mascot, or character into a finished plush. You skip the pattern work and the stitching.
This option is great for brands, creators, personal use, and gift plans. The best part? Your DIY skills still help. You now know how a pattern, fabric, and stuffing fit together. That makes it easier to share clearer ideas with our team.
You can either order one for yourself or order hundreds for a team. Either way, you start with an idea, and we take care of everything else.