How to Make Plush Keychains: A Complete DIY Guide
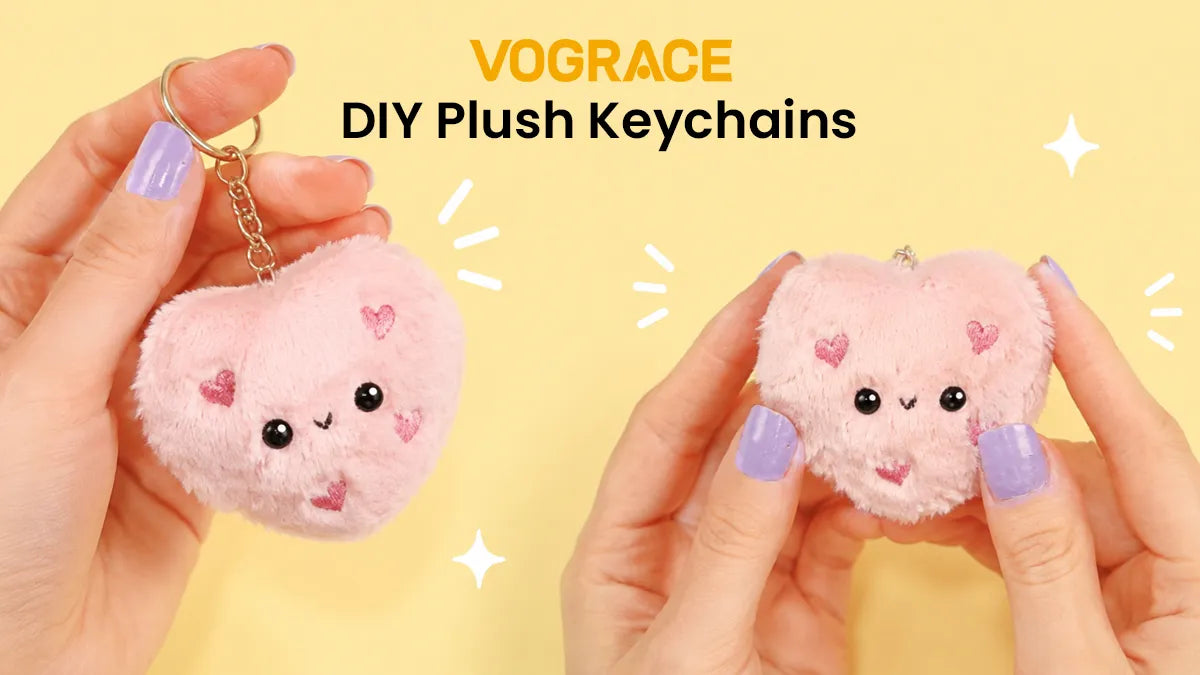
Making plush keychains might seem like a complicated DIY, but with just a few changes in the process, they can become one of the best beginner projects out there. They are small, cute, fast to finish, and you can usually make one from scraps sitting in your craft bin already.
Plush keychains make great gifts too; all you need is to find your rhythm with the shapes, and after crafting a few, you just cannot stop.
This guide covers the entire process of making plush keychains, from start to finish, from a simple rough sketch to a finished cute little keychain. You can make one for yourself, give a few away, or sew a small batch for your own collection.
Material You'll Need
Here is the list of all the materials you will need to make plush keychains at home. Gather everything before you sit down to sew; it helps keep the momentum going.
● Felt or short-pile plush fabric (in a few different colors)
● Embroidery thread
● Hand-sewing needle
● Fiberfill stuffing
● Fabric scissors
● Ribbon strip or fabric (for loop)
● Chalk or a marking pen
● Pins (to hold fabric in place while you sew)
How to Make Plush Keychains at Home (Step-by-Step Method)

We will not be using a sewing machine for this one, because the shapes we're going with are small enough to hand-sew comfortably, and more importantly, hand-stitching gives you better control over the tight curves anyway. Since this is a DIY guide for beginners, we will keep things as simple as possible to help you successfully finish your first plush project.
Step 1: Choose and Sketch Your Design
Start with a simple and chunky outline. Animals, fruit, food, popular cartoon faces, or anything else that reads clearly without needing fine detail work makes for a good design.
Sketch it full size on a scrap of paper first; somewhere around three to four inches tall is a good starting point so what you cut later actually matches what you imagined.
Avoid thin points like long ears or skinny limbs if you can help it. For one, those thin points are extremely hard to stuff evenly, and for two, they tend to wear out first once you start using the keychain daily.
Step 2: Cut Your Pattern Pieces
Use your paper sketch as a template once it's cut out. Trace it twice onto your fabric, once for the front side and once for the back. Make sure to add about a quarter inch of seam allowance around the edge.
Felt is the easiest fabric to work with here since the edges won't fray while you're handling them.
Now is the time to cut any extra pieces, like ears, a face layer in a different color, or whatever your design calls for.
Once cut, use pins to lock the template down rather than trying to hold it steadily.
Step 3: Sew the Front Details
Add all the details while your front piece is still flat, before you stuff anything. These details can be eyes, a mouth, maybe small shapes, or anything your design calls for. You must do this now; it's easier this way than doing it once the whole thing is stuffed and turns three-dimensional.
Having trouble sewing? You can use fabric glue to make things easier. If a piece is a separate felt layer, like a lighter patch for the face, glue it down first, then stitch around the edge to lock it in place.
Step 4: Sew the Body Together
Fold a short length of ribbon or fabric in half to make a loop. Tuck the loose ends between the front and back pieces at the top, the folded end pointing inward, so the loop hangs free once you flip everything right side out.
Pin your front and back pieces together with the right sides facing inward, then sew around the edge using a small, even stitch. Leave a gap of about 1-1.5 inches along the bottom so you have room to stuff the keychain later.
Go slowly around curves and clip into the tight corners before turning it right-side out, or the fabric bunches up.
Step 5: Stuff and Shape Your Keychain
Now, turn your keychain right side out through the opening you left. Small pinches of fiberfill, pushed in slowly and steadily, work better than shoving in handfuls.
Use a pencil or a similar tool to stuff the corners without overloading everything in the middle.
Work around the whole shape section by section rather than packing one spot completely before moving to the next, since that's what keeps things even on both sides.
Take your time during this step, because stuffing is the key to how your final product is going to look and feel. If you stuff too little, the plush will not hold its form, and when you give it a little squeeze, it looks completely different.
But, if you overstuff it, the plush becomes stiff, and the seams can start to show. The key is to be patient, add little by little, check the shape from all sides, and then add a little more if it needs it.
Step 6: Close the Seam and Attach the Keyring
Once you're happy with the shape, use a ladder stitch to close the gap. Give the loop a firm tug to make sure it's caught securely in the stitching, then thread your favorite keychain hardware, whether that's a key ring, a clasp, or a ball chain.
That's it; your DIY plush keychain is now ready!
Need a Simpler Way to Turn Your Design Into a Plush Keychain?

Sewing is not everyone's cup of tea, or maybe you are looking to make these keychains in larger quantities. That's when you can explore custom plush keychains by Vograce.
We offer various types of custom plush and fabric keychains at great prices. If you want to turn your design into a plush and make sure it looks good, you should definitely give our keychains a try.
You can choose from different sizes, accessories, colors, and more. You do your best on your design and leave the production to our team. Simply upload your file, customize your keychains, select your quantity, and place the order to turn your favorite designs into professionally made plush keychains!