How to Make Vinyl Stickers at Home in 6 Easy Steps
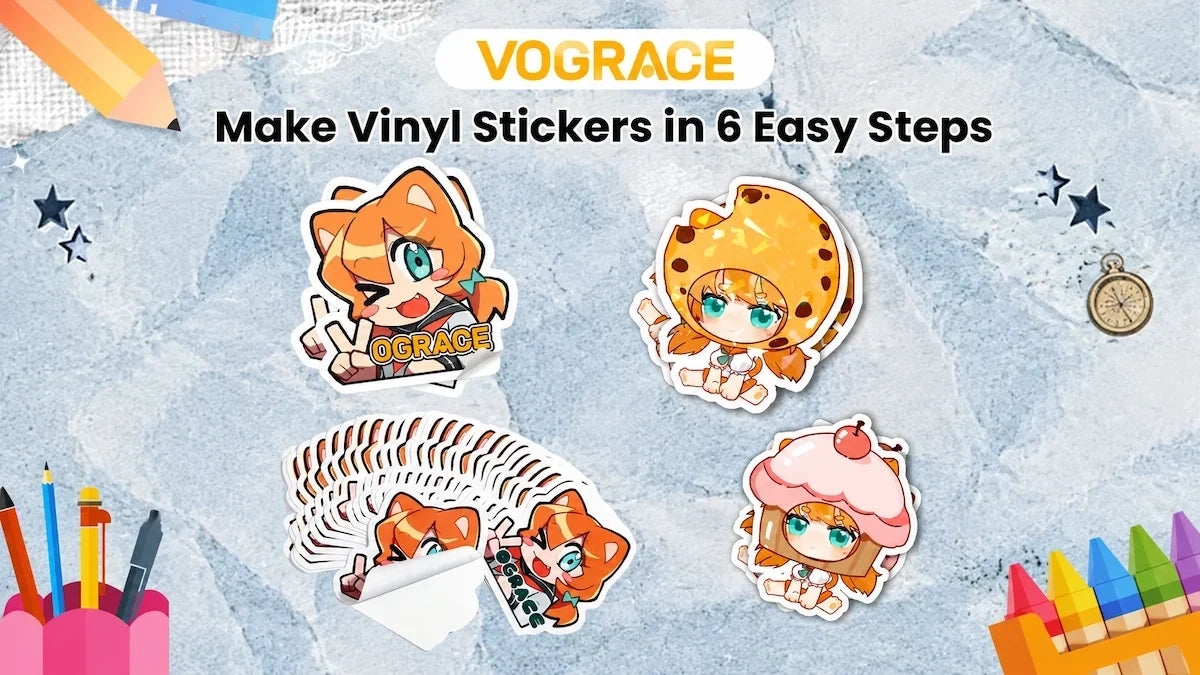
Making your own stickers has to be one of the most satisfying weekend projects out there. An idea sitting in your head or on your screen ends up on your water bottle or laptop an hour later.
No studio, no fancy setup. Just a few supplies from a craft store and a printer you already own, and you can turn pretty much any design into a durable, glossy sticker.
This guide covers the whole process of making vinyl stickers at home, from start to finish, including what materials you actually need, how to print and how to protect the finished sticker so it survives everyday wear and tear.
Step-by-Step Guide to Making Vinyl Stickers at Home

Vinyl resists water, sun and everyday wear and tear in a way a regular paper sticker just cannot. That's why this guide sticks with vinyl.
Materials:
● Printable vinyl sticker paper
● Printer (inkjet or laser)
● Self-adhesive clear laminate sheet
● Cutting mat
● Scissors or a craft knife
● Cutting machine like a Silhouette Cameo or Cricut (optional)
● Vinyl weeding tool (optional)
Step 1: Design Your Sticker
Create your artwork in whatever design program you already use, or simply find an existing image you want to turn into a sticker. Canva, Photoshop or even free online editors work too.
Next, it is time to add an offset to your design. It's just a white border traced around the edge of your design, the kind you see on most stickers already.
This border makes cutting easy, protects edges and gives your sticker a clean and professional look. If you're going to use scissors or a craft knife, an offset will be a lifesaver.
Most design programs have the option to add an offset. If you don't know how or are unable to find the option, use this free sticker border tool. It's straightforward and gets the job done.
Once the design and offset look right, export the file as a PNG with a transparent background.
If you're printing a single sticker, you can jump straight to printing. But if you want to make a batch of stickers, set up a blank canvas the size of your sticker paper in your software, usually A4, and fit as many designs on it as you can. Once done, export the whole sheet as a PDF.
Choosing the right sticker size before preparing your artwork is also important, as the final dimensions affect design details, readability, and print results. Check our Sticker Size Guide to learn common sticker sizes and choose the best option for your design.
Step 2: Print Your Design
Load the vinyl sticker paper into your printer and double-check that it's compatible. Vinyl sticker papers are costlier than normal sticker papers, so you don't want to waste any resources.
In the printer settings, choose the highest quality option, since it keeps the colors sharp, and then print your design. Run a test on regular paper if you're unsure about the output.
Step 3: Laminate the Sheet
Vinyl already holds up to water and general wear, but the ink sitting on top of it is what's actually vulnerable. That's why laminating your stickers matters if you want them to last longer.
Note: If using an inkjet printer, make sure the print is completely dry before laminating so the ink doesn't smudge.
Stick the self-adhesive clear laminate sheet over the print and smooth it out from the center toward the edges, working out any air bubbles as you go.
Step 4: Cut Out the Stickers
Cut along the white border you added back in Step 1, working on a cutting mat. A craft knife gives more control on tight curves; scissors handle simpler shapes just fine. That border makes hand cutting genuinely easy since there's a real line to follow instead of guessing where the edge should be.
If you have a cutting machine, upload the design file to its software, load the printed and laminated sheet into the machine, and let it cut for you.
Step 5: Weed the Vinyl
Weeding is only required if you used a cutting machine. "Weeding" means pulling out the small scraps the machine cuts away that aren't part of the sticker, like the little circle inside the letter O or the two closed loops inside the letter B. Use a vinyl weeding tool to clear excess vinyl until only your actual design is left.
If you're cutting by hand, you can skip this step and jump right into the next.
Step 6: Peel, Apply and Enjoy
Peel off the backing and stick your sticker wherever you like. That's it. You've successfully made awesome and durable vinyl stickers at home, just like a pro.
Beginner Tips for Making Vinyl Stickers

Keep the design simple. As a beginner, stick with straightforward designs, and once you've made your first batch and gained confidence, try something more complex.
Offset is optional, but important. Adding an offset to your image isn't required, but for a beginner, it makes a real difference. It smooths out the entire process and gives you a little room for error while cutting.
Patience is key in DIY. Testing on regular paper before printing, giving time for the ink to dry, patiently applying laminate, clearing air bubbles and not rushing the process give you better results.
DIY is great for making a few stickers, especially while you're learning the process. But if you're making a larger batch, keeping every sticker consistent can be difficult without a cutting machine and some design experience. That's when professional sticker printing can save you time and effort while giving you consistent results.
How to Make Custom Vinyl Stickers With Vograce

If you want professional print quality, larger quantities or simply want to skip the DIY process, Vograce offers custom vinyl stickers with no large minimum order. You can order a single set or a larger batch and have professionally made stickers delivered to your home.
Check out cheap custom vinyl stickers to get started. Upload your design and choose from regular vinyl, holographic vinyl, reusable vinyl or vinyl with film.
You can preview your sticker using the online editor, then select your size and quantity. You can also add special requirements in the "order note" at checkout.
You won't need to worry about printing, precise cutting or adding an offset. The team handles everything and checks your artwork before printing, contacting you if confirmation or revisions are needed.
Give Vograce a try if you want professional stickers without the hassle of making them yourself!