How to Make a Trading Card: Design, Printing & Tips
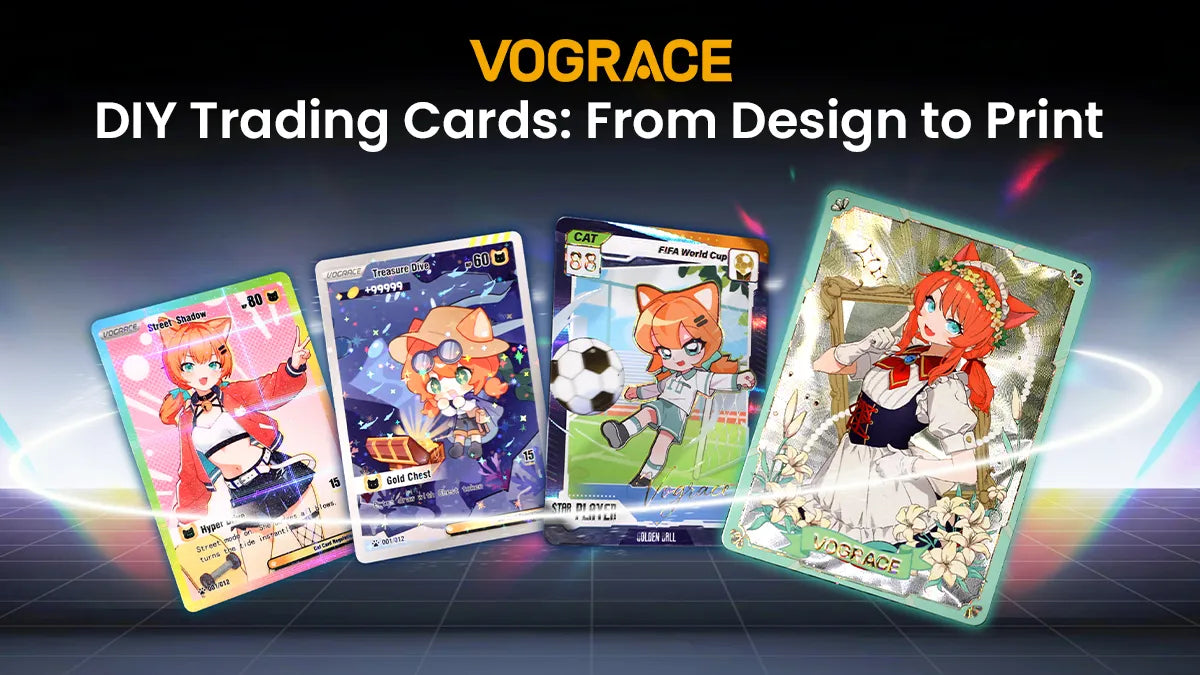
The hype around trading cards never seems to end, and they're one of the most fun things you can make yourself at home. Maybe you want a set of cards for your own game, a few showcasing your art, or custom cards as a gift for a collector.
Making your own trading card doesn't require a degree or special equipment. With some planning and the right tools, you can go from a blank canvas to a finished, printed card in an afternoon. Here's how.
Designing Your Trading Card

The first step to making a trading card is figuring out the design. This can make or break the final product, so put in a little extra time here.
1. Pick Your Card Type
Before opening any design software, decide what kind of trading card you're making. When you say "trading card," what comes to mind? A sports card, a character card, a popular TCG card, or something entirely your own?
Trading cards aren't a single format. Each type calls for a different style, information layout, and visual approach. What stands out the most is the card size. Standard cards are often 2.5 by 3.5 inches, but some formats run larger or smaller. Mixing sizes within one set can cause problems later when you're laying out your print sheet.
Solution: Check out our detailed trading card size guide to learn about different trading card types, standard and custom dimensions, and their common uses.
2. Build Your Trading Card
Once you know your card type, it's time to build it. You have a few options here, and none of them are wrong:
● Use an online trading card generator for something quick.
● Find a template online and then customize it; Pinterest is a good place to start.
● Design your own card from scratch using tools like Photoshop, Illustrator, or similar software.
Decide early whether your card will be single-sided or double-sided. A double-sided card needs either a separate back design or an extra copy of the same design.
Use high-resolution images and design at 300 DPI. A card that looks fine on screen may not translate well once printed at actual size. Add your artwork, the card name, stats, descriptions, and any other details that fit your card type.
3. Set Up Your Canvas
Open a new A4 (or Letter) template in portrait or landscape in your favorite design software. Import your finished card design and resize it to your chosen dimensions. If you're making a double-sided card, place the front and back designs next to each other, or plan to print the front and back designs on separate sheets.
Duplicate the design to fill the page. A4 sheets fit around nine standard-size cards. Leave a small gap between each card so you have room to cut cleanly.
Duplex printing (double-sided printing) requires some trial and error. You can definitely do it if you're feeling confident or if you find a template that works well. If not, printing all the designs normally and then gluing the front and back sides of the card together is a good idea.
4. Proofread Before You Export
Before exporting, look everything over carefully:
● Read through the text and check for typos.
● Zoom in on your images to make sure nothing looks off.
● Keep important text and artwork away from the edges.
5. Export a Print-Ready File
Export your finished canvas as a PDF. This format holds up best for printing and keeps your layout intact. If your software doesn't support PDF, a high-resolution PNG works as a backup.
Either way, make sure the export doesn't resize or compress your designs. A compressed file can turn sharp artwork soft once printed.
Printing Your Trading Card

With the design completely figured out, it's time to print, cut, and finish your trading cards.
1. Pick the Right Cardstock
Start by picking the cardstock, a thick, durable paper perfect for making trading cards.
If you are duplex printing, 200-300 GSM is a good choice. It gives more rigidity, closer to a real trading card.
If you're going to glue the front and back sides of the cards together, 150 GSM lightweight cardstock works well.
Check that your printer can handle the cardstock weight before buying the paper in bulk.
2. Get Your Printer Ready
Load your cardstock so it sits flat and feeds correctly. In your printer settings, select the "paper" or "cardstock" option instead of plain paper. Choose the highest print quality available, and set the scale to 100% or "Actual Size."
Skipping this step is a common beginner's mistake, since many printers default to "fit to page" and shrink your cards.
3. Run a Test Sheet
Print a single test sheet before committing to the full run. Double-check the size, image quality, alignment, and overall output. If everything looks right, print the rest of your sheets. Once done, let the ink dry fully before handling the sheets again.
4. Cut and Finish the Cards
The easiest way to cut your cards by hand is by using a ruler and a craft knife. Place the printed sheet on a cutting mat and cut carefully along the outline of each card. Take your time. Rushed cuts are where mistakes happen.
If you want rounded corners like most commercial trading cards, you can use a tool called a "corner-rounding punch."
Finally, glue the front and back sides of the card together (if needed), and your trading card is ready.
Tips for Making Trading Cards Like a Pro

Here are a few tips to make your trading cards look better:
Keep the design simple. A cluttered card is hard to read at a glance. Just add the key information like name, stats, and your artwork.
Use high-quality images. Low-resolution artwork is one of the most common reasons a homemade card looks unfinished. Low-quality images might look alright on screen, but the printed output will look bad. Source or create images at a resolution that holds up at print size.
Leave enough space around the edges. A small buffer between your content and the card's edge protects against trimming errors and gives the design room to breathe.
Try a holographic finish. Applying a holographic laminate or film gives your cards that shiny, rare collectible look. Self-adhesive holographic sheets are easy and straightforward to use. Alternatively, you can use holographic lamination pouches with a laminator.
Test before printing the whole batch. A single test print catches sizing issues, color problems, or alignment mistakes before you waste a full sheet of cardstock.
Make Trading Cards With Vograce

If you want professionally made cards without printing and cutting them yourself, Vograce offers different types of custom trading cards with various finishes. Get a holographic finish for an eye-catching effect that can make your cards feel more like premium collectibles.
You can upload your own artwork and customize the cards to fit your design, making them suitable for character cards, collectibles, gifts, TCGs, and more.
It's also a convenient option if you're making a larger batch and want every card to have a consistent size, finish, and print quality. Simply prepare your card artwork, choose your options, and order your custom cards through Vograce.