How to Make Button Pins in 6 Steps: Easy DIY Tutorial
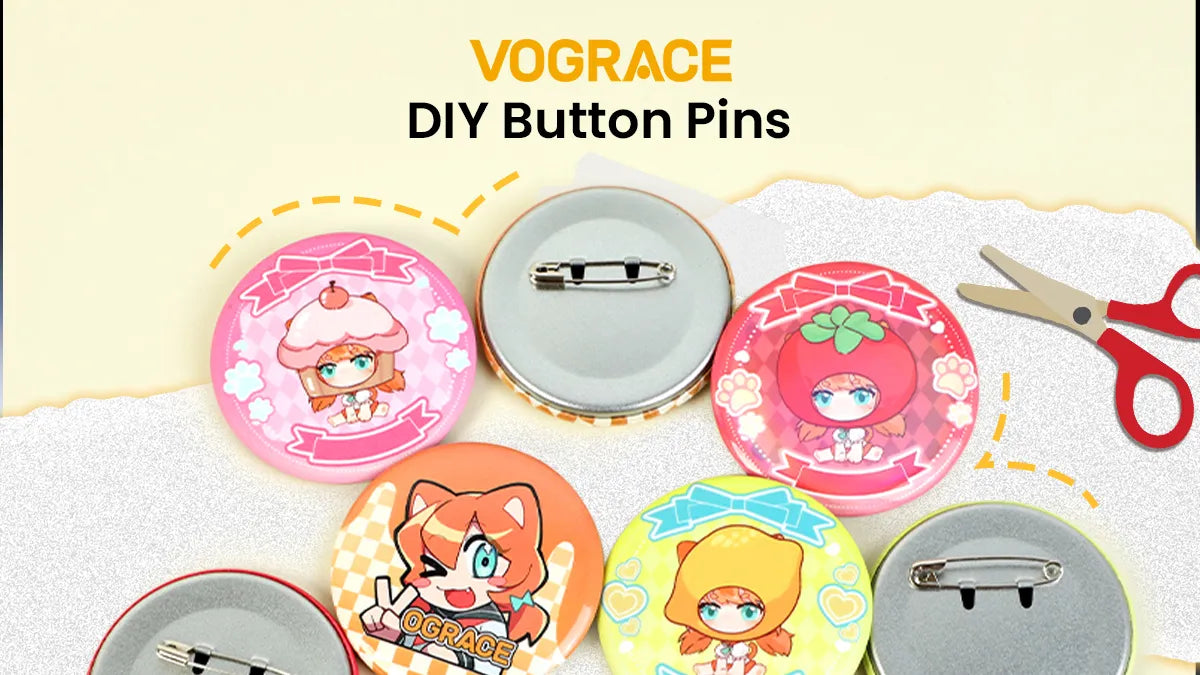
If you have ever wanted your own custom badges without buying an expensive machine, making button pins at home is one of the simplest crafts to pick up. No fancy tools or DIY experience is needed. All you need is a bit of patience and a design you love.
Button pins work great for gifts, small business items, or just decorating your bag and jacket. This guide walks you through the easiest way to make them, step by step, so even a complete beginner can finish with a clean, professional-looking pin.
About Making Button Pins at Home
There are two popular ways to make button pins at home.
The first method uses button pin blanks that come with a metal front shell, a rear cover with an attached pin, and a clear protective plastic film. This method also requires a button-making machine, which can cost anywhere from fifty dollars to two hundred and fifty dollars depending on its quality. Preparing your artwork for this method takes more effort too, since you need to add bleed to your design or find the right template size, and beginners usually go through a fair bit of trial and error before getting a clean result.
The second method uses clear button pins and does not require any machine at all. You simply cut your artwork to size, slide it into the blank, and close it up. This process is simple and straightforward. The blanks cost a lot less than machine kits, and if you make a mistake, you can just open the blank back up and fix the design instead of wasting a whole piece.
For this tutorial, we are going with the clear button pins method. It skips the machine, keeps your cost low, and forgives small mistakes along the way, which makes it the better choice if you're trying this for the first time.
Materials You'll Need
These are the only materials you will need to make your first button pin at home, and you might already have most of them available:
● Clear button pins
● Printer
● Glossy or photo paper
● Scissors or a craft knife
● Cutting mat
● Pencil
Easiest Way to Make Button Pins at Home (Step-by-Step Method)

Step 1: Design Your Artwork
Open your favorite design software, the one you are comfortable with. Import or create your design, keep it centered, and leave a small margin around the edges, since anything too close to the border can get cut off or hidden once the pin is assembled.
Since your blank is round, create your artwork in a circular shape that matches the blank. This will help your design look properly aligned once it is trimmed.
Step 2: Print Your Design
Print your finished artwork on glossy or photo paper for the best color and clarity. Check your printer settings before printing so the colors come out close to what you see on screen. If you plan on making several pins at once, prepare a canvas the size of your paper and fit as many designs as you can on a single sheet.
Step 3: Trace Your Design
Take the clear front piece of your blank and place it over your printed design. Align it with the design so it is centered, then use a pencil to lightly trace around the edge. This gives you a clear cutting guide.

Step 4: Cut Your Design
Cut just inside the line you traced, and not right on top of it. Cutting slightly smaller than the traced outline helps your design sit flat without sticking out once it goes inside the blank.
All you need is one properly cut design. If it fits perfectly, you can use it to trace the exact size for the rest of the designs, so work slowly here.
Step 5: Assemble the Button Pin
It's time to put everything together. Place your cut design face up on the inside of the back piece, then set the clear plastic front over it so your artwork shows through clearly. Make sure the design is centered before pressing the pieces together.
Press down evenly around the edges until you hear or feel it snap into place. Go around the entire rim again to make sure everything is secure, as pressing down on only one side can shift your design slightly off center.
Step 6: Clean and Finish
Wipe the clear front with a soft cloth to remove any fingerprints or dust. That's it. Your button pin is now ready to wear, gift, or even sell.
That is really all it takes to make your first button pin at home. Once you get the hang of designing, printing, cutting, and snapping the pieces together, you can make a whole batch in no time. This little DIY project is a great way to start making your own button pins. It's simple, extremely cost-effective, and gives you the confidence to attempt more DIY projects.
However, if you're looking to make button pins that look professionally made, you will need the button-making machine as mentioned, which requires an initial investment.
But what about someone who wants a professional button pin without a machine and without spending a lot of money upfront? Here's how.
Make Custom Button Pins With Vograce

Making button pins at home is a fun project, but hand-cutting each design gets tiring real fast once you need dozens of matching pins. This is where Vograce comes in. We offer custom button pins in various shapes and sizes with a range of finishes and backing options to match your design.
You simply upload your artwork and pick your customizations, and our team handles the printing, cutting, and assembly, so you end up with clear, consistent pins without spending your whole weekend at the craft table.
Use our online editor to preview the pin before ordering, and with an MOQ of just one, you can order a single pin or buy in bulk and get professional-quality results either way.